
Country Painting - How to Paint a Perfect Basecoat-

Today I’m talking about how to optimally paint the base of a Country Painting project.
Country Painting can be applied on any type of surface but in most cases it is painted on wood or MDF.
(If you want to learn more about how to prepare the various surfaces to be painted, you can read this article HERE)
Most wooden shapes are laser cut with the main lines of the design already engraved, which simplifies our work since we no longer have to transfer the design with graphite paper.
In the image below you can see the shape of my “Sweet Home” project
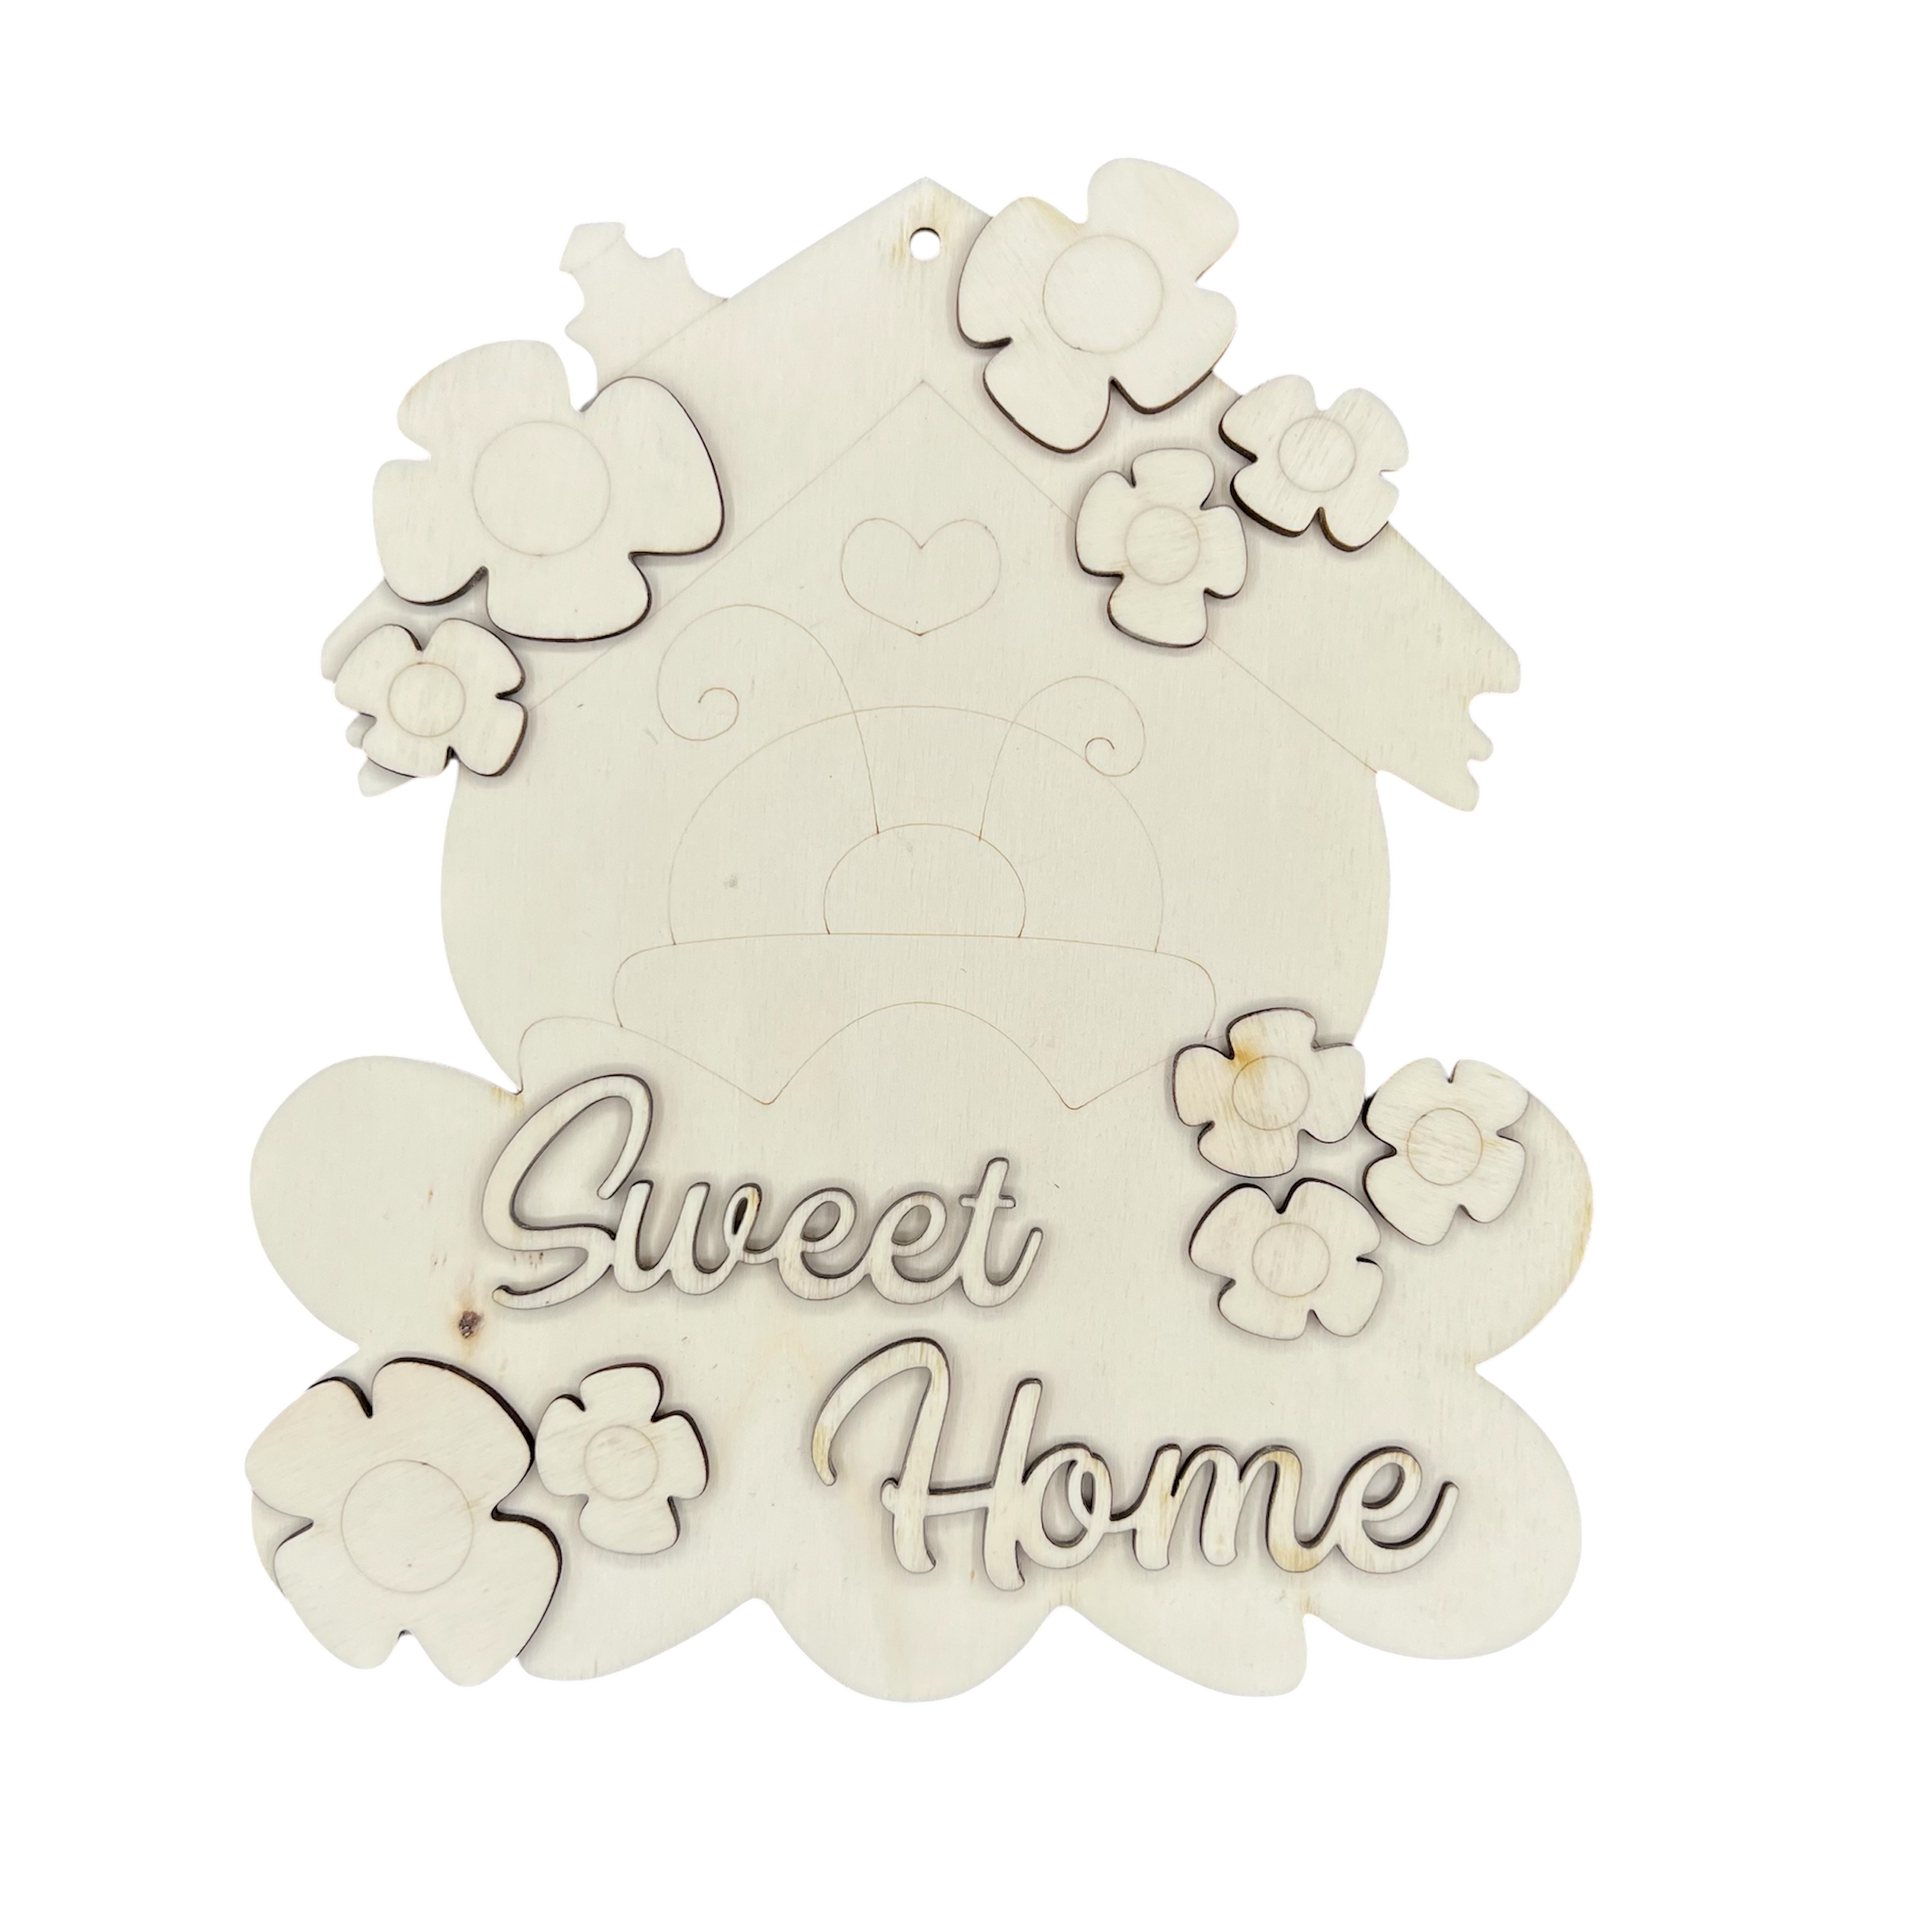
In this case, you can see that the main lines of the drawing are already engraved, the chimney, the roof, the central part with the ladybug, and the base and below the tag.
To create the basecoat of a Country Painting project, you proceed in "layers," so in this case you will start painting the chimney, the roof, the central part of the house, and the tag.
The details drawn in the central part, the ladybug, and the base will be painted after finishing painting the background of the little house because they are on top.
So, first paint everything underneath, then gradually all the details that are on top.
When I start the basecoat, first I prepare the colors I need on my wet palette.
I usually start first with light colors, leaving darker colors for last.
In this pattern, I started the basecoat from the tag; I load color onto my brush and begin from the "central" part or on the sides of the tag and NEVER near the drawing (in this case where there is a line separating the tag from the little house).
Why? you may be wondering ….
Very simple, when you have just loaded the brush, the amount of color is "abundant" on the bristles and if you start from the edge near the design, in this case where there is the line that separates the tag from the little house, pressing the brush on the surface, you risk creating a "step" or even "overflowing" into the part that will be painted with another color.
So my advice is to start from the central part or anyway "outer" and when the brush has slightly dried up then proceed near the edges, in this way you will be able to follow perfectly the lines of the design with precision.
I follow this procedure when I paint all the bases of my Patterns in Country Painting.
Once finished painting the basecoat and perfectly dried I proceed to gently sand the entire surface with a fine-grain sandpaper for example no. 240.
This last step will allow you to achieve a perfectly smooth surface so that, when you paint both the highlights and shadows with the float or drybrush technique, they will be practically perfect and free of any irregularities.
If you want to watch the video I dedicated to this tutorial, you can watch it HERE
If you liked it and want to stay updated on all blog articles, subscribe to the Newsletter, you will immediately receive a Gift Voucher to use in the Shop, many useful resources to download and also a fantastic GIFT !!
Happy Painting 🎨
Paola
A chi potrebbe piacere questo articolo?

Paola Bassan - Country Painter & Creative Designer
L’amore per la Pittura Country è stato come un fulmine a ciel sereno. Era il 2007 e non esagero se ti dico che... non ho più smesso di dipingere da allora!In tutti questi anni ho avuto la fortuna di incontrare persone meravigliose ed insegnanti straordinarie: Maxine Thomas, Jamie Mills Price, Kim Houge, Laurie Speltz, Karen Wisner, Alessio Meggiato.Tutte loro mi hanno insegnato moltissimo e mi hanno sempre spronata a fare di più, incitandomi a trovare la mia strada, il “mio stile”, se così si può dire …Ed eccomi qui a vivere e a condividere con te questa grande avventura ... un sogno diventato realtà !
📬 Vuoi rimanere sempre aggiornata su tutte le novita? 📬
Iscriviti alla Gratuitamente alla mia Newsletter per rivevere subito :
- Due pattern da scaricare con istruzioni chiare e semplici per fare il tuo primo capolavoro!
- Un buono Sconto del 10% da utilizzare nello SHOP
- Accesso al gruppo esclusivo dove potrai parlare direttamente con me, con tutorial gratuiti
- Una sorpresa finale 🤩